Final Website Requirements
Home Page - no stock photography, welcome message
Projects Page -
- Grid Project (image and reflection)
- Veggie Head (image and reflection)
- Photo Composite (two images, sketches, research, reflection)
- Studio Portraits (research/sketches, photos, contact sheet, reflection)
- Culture Jamming Project (concept board, contact sheet, original image, recreation, spoof, and reflection)
- Panorama Project (concept board, contact sheet, cell phone pano, DSLR pano, tiny planet, and reflection)
- Hockney Project (concept board, contact sheet, Hockney image, and reflection)
- Shutter and Aperture Review (contact sheet, edited images, reflection)
- Mini Series (contact sheet, 3 best images, and reflection)
- Personal Photography - 10+ images that you took OUTSIDE of class that are not assignment based
Portfolio Page -
your BEST 12 images of the year
Artist statement (5-7 sentences)
- How have you grown as a photographer this year?
- What new techniques have you learned?
- How will photography influence your future career/personal life?
- What do you want to learn more about (in the field of photography)?)
Inspiration Page - mood boards, about me slide,
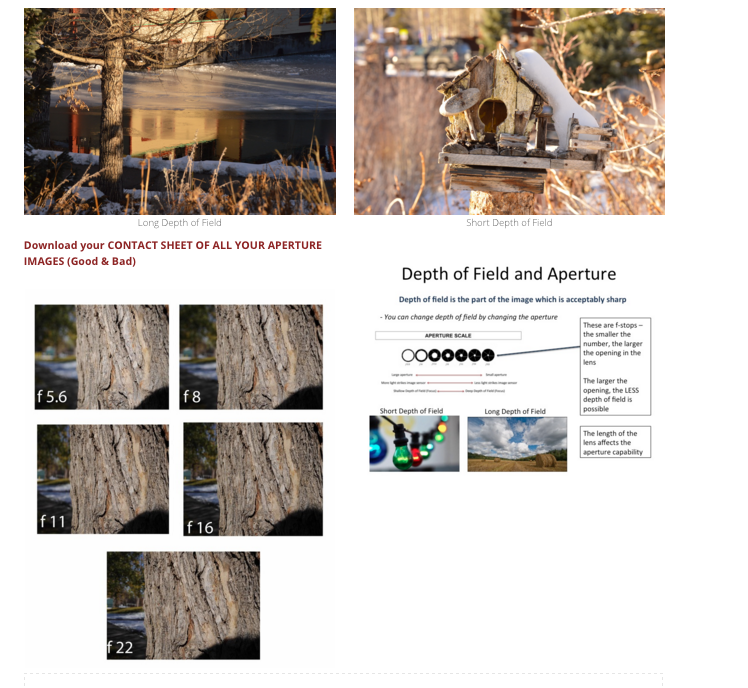
Shutter & APerture Review
|
In Aperture Mode:
- Shoot 10 images with SHORT depth of field - Shoot 10 images with LONG depth of field In Shutter Mode: - Shoot 10 images using STOPPED motion - Shoot 10 images using BLURRED motion Using "P" Mode, shoot the same image at: ISO 100 ISO 200 ISO 400 ISO 800 ISO 1600 Make a contact sheet of all 45 images Edit your BEST example fo each: - Short depth of Field - Long Depth of Field - Stopped Motion - Blurred Motion |
|
Final Project: Mini SeriesAs the capstone to our year, you will create a series of images based on one of the concepts that we covered this semester. This is an opportunity for you to refine your understanding of a concept!
Projects/Concepts/Techniques we Covered Point of View/Composition Aperture/Depth of Field Shutter/Motion Spooky (Textures) Toning & Selective Color Double Exposure Portraits Culture Jamming/Advertising Panoramas/Tiny Planets Hockney/Joiner |
UNEDITED IMAGES DUE MAY 4
PROJECT DUE MAY 9th Contact Sheet 3 edited images Reflection What is a series?
Simply put, it is a group of pieces based on a common element or group of elements. You can base a series on subject matter, a technique, a particular set of materials, a group of visual elements, or a compositional format. A series can be created in an afternoon – as in a group of quick collage studies – or last a lifetime. Many artists keep several series going throughout their careers. (http://janedaviesstudios.com/working-in-series/) |
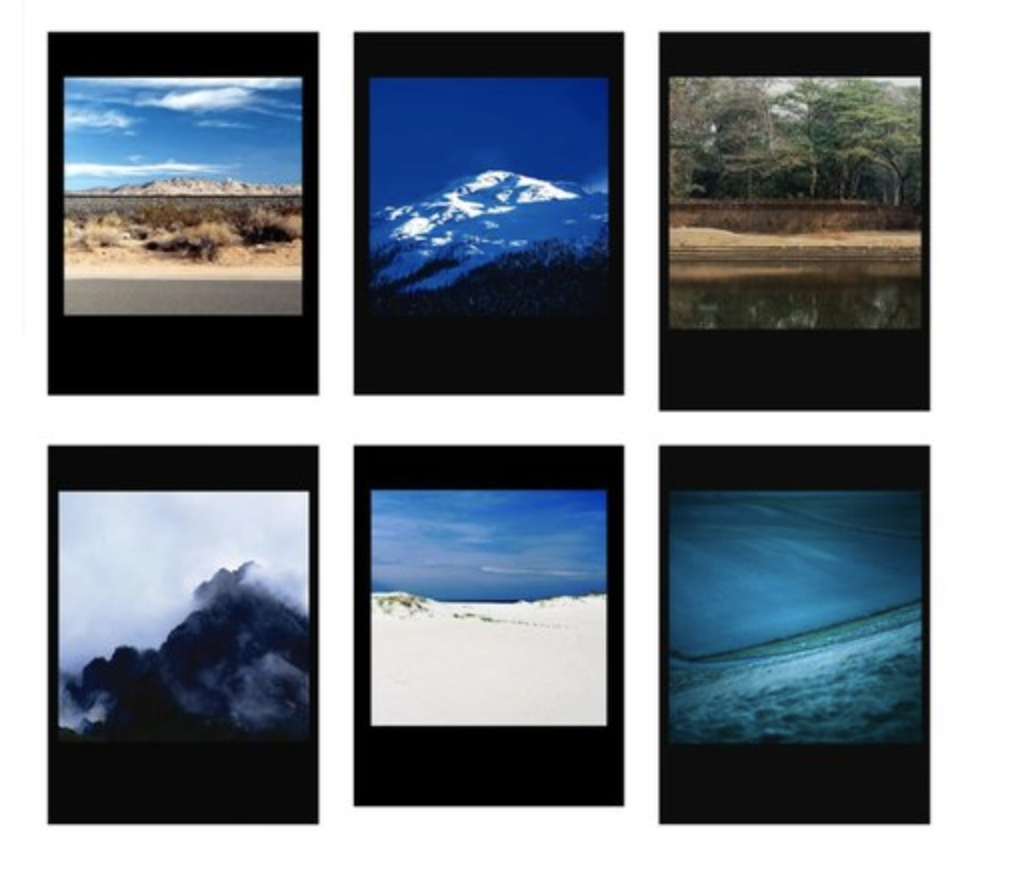
landscapes unified by black borders
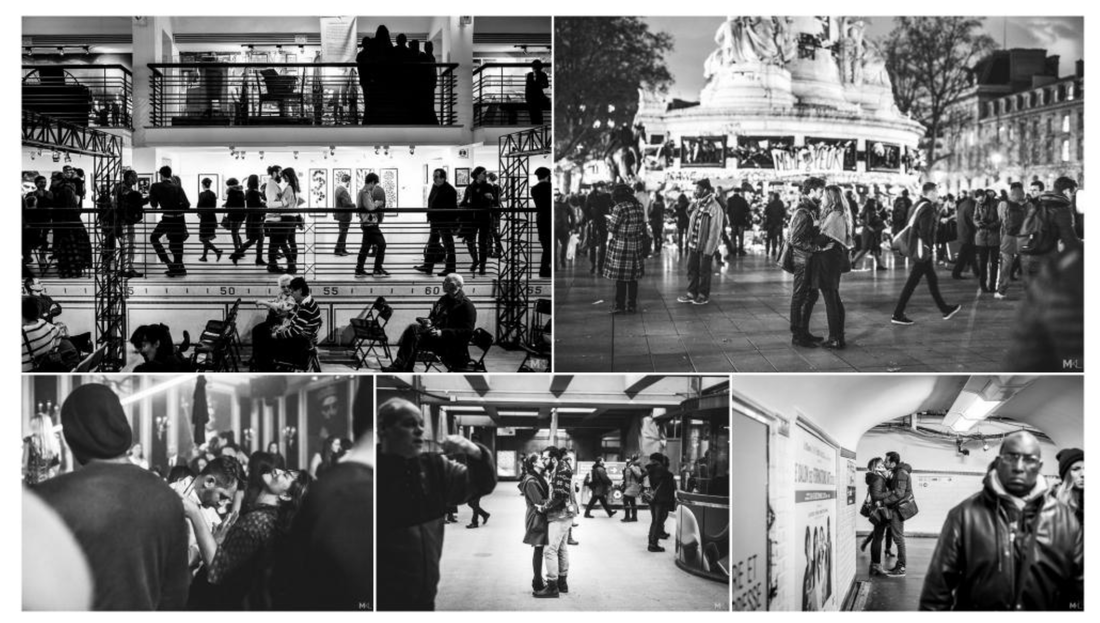
Couples kissing in public spaces
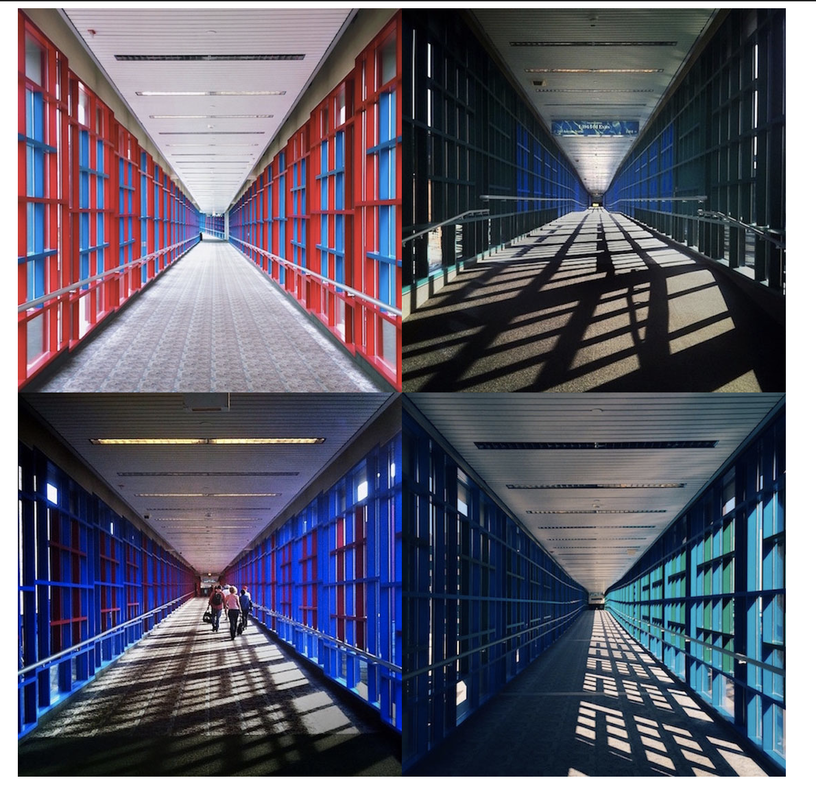
Leading lines in architecture
|
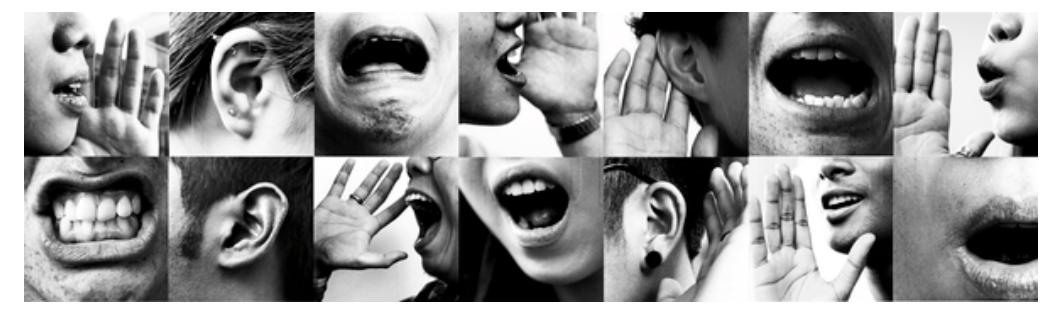
Close up body parts
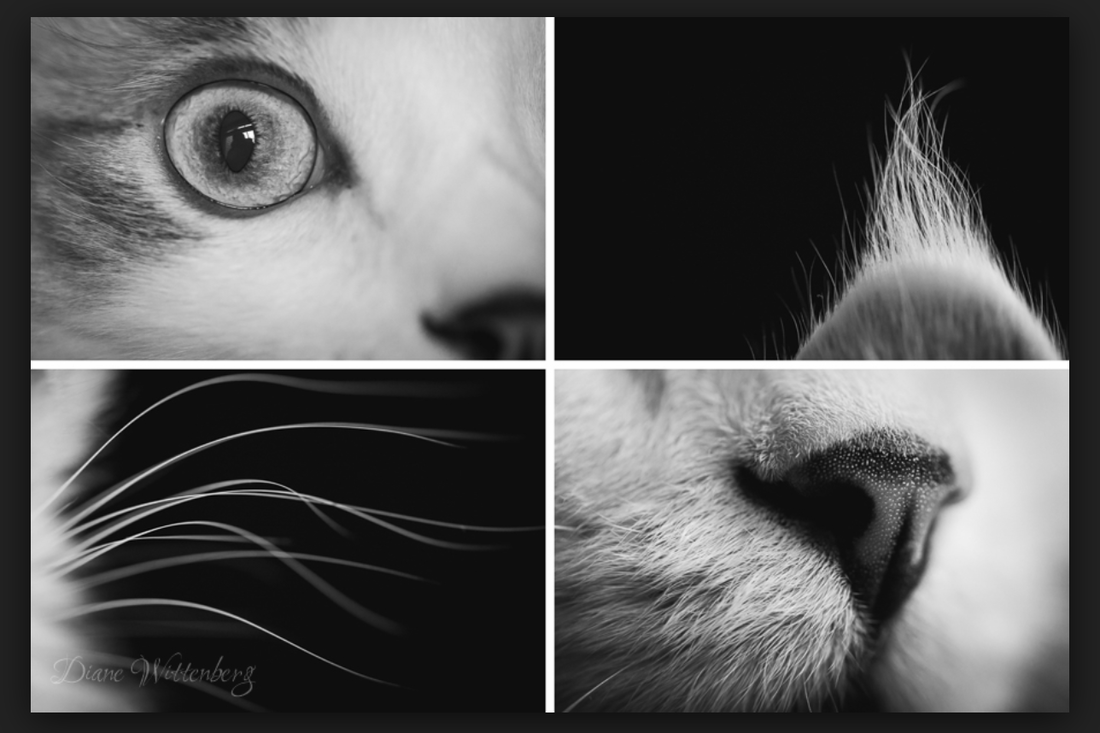
Close up animal
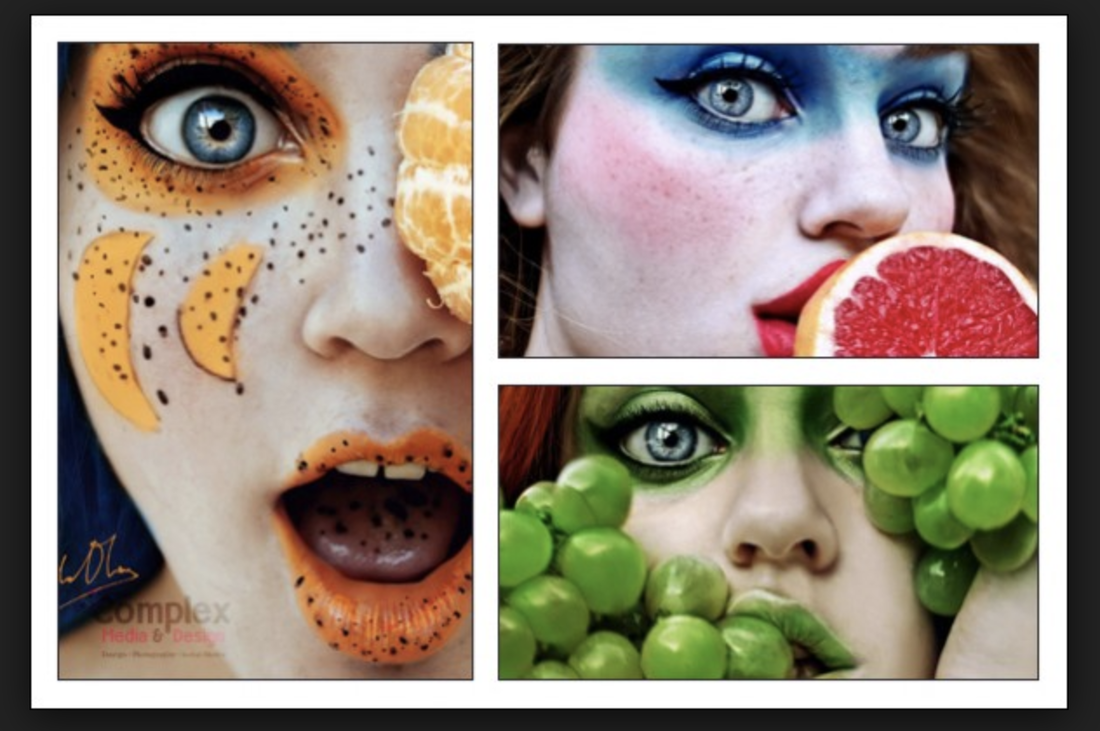
Fun fashion shoot
|


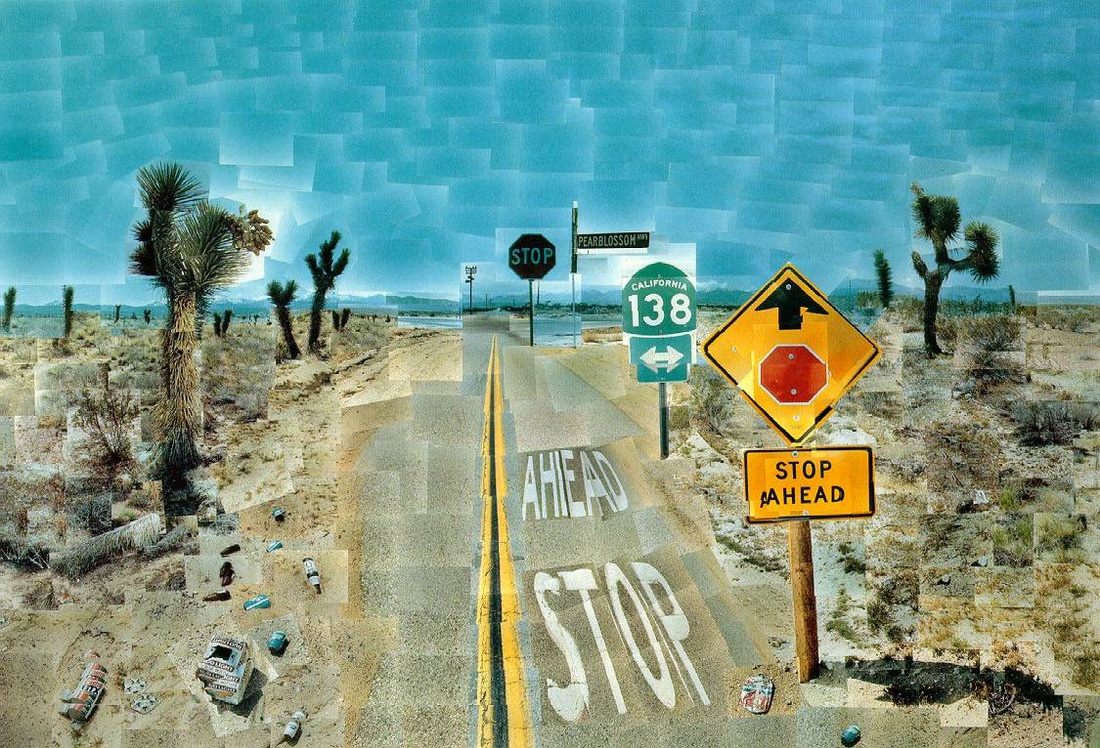
Hockney/Joiner PRoject
How can you Manipulate Perspective in Photography?
|
REQUIREMENTS
|
|
|
|
|
|
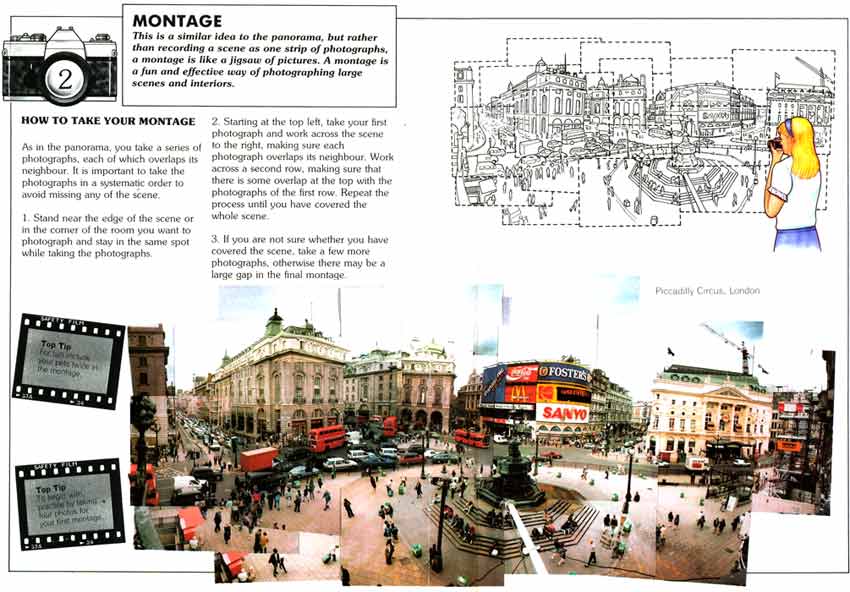
Panorama Project
Do you know how to use the panorama function on your camera phone?
Panorama Tutorial
Download images (in Dropbox) and open in Photoshop
Follow along with Dr. O to stitch together the images
Missed the tutorial? - read and follow this one
Shooting (aim for at least 2-3 panoramas in each technique (cellphone & DSLR)
You need to create two panoramas:
One using your cell phone camera and in-camera panoramic feature/panorama app
One using 5-8 separate photos and stitched together using Photomerge in Photoshop
Edit and crop as needed
Save as: "panocell_name.jpg" and "panops_name.jpg"
Tiny Planet
Take one of your panoramas and create a Tiny Planet. Save as tinyplanet_name.jpg
Turn In:
Post in Dropbox (including contact sheet, panocell, panops, and tinyplanet)
Post on your webpage with a short reflection about the process - how did you create these? Do you enjoy creating panoramas? Why?
TExt Project
|
Concept: How can you combine and contrast image and text to communicate a social or political message?
Barbara Kruger website video art history archive Tutorial |
|
kaleidoscope
|
Download the tutorial and make sure to use one of your own images!
|
|
Culture Jamming
|
How can you become a critical consumer of mass media advertising?
You will:
|
|
studio portraits
|
Tutorials to go through (use image found online)
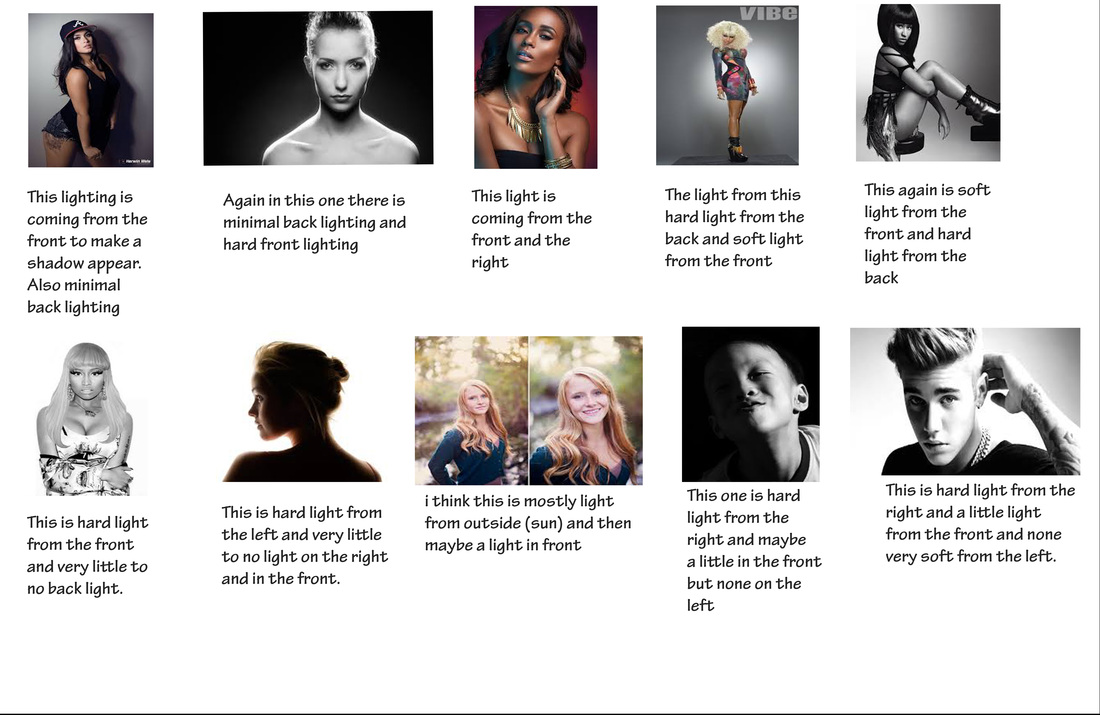
EXAMPLE OF A LIGHT ANALYSIS SHEET
EXAMPLES OF SKETCHES
|
EXAMPLES OF STUDIO LIGHTS
STUDIO LIGHT REQUIREMENTS
Mood Board Sketches/Planning Sheet Light Analysis Activity Contact Sheet (24+ images) 3 edited images Tutorial Results (skin and eyes) |
Impossible Photography
Students will create two photo composites that focus on the compositional element of foreground, middle ground, and background while illustrating an impossible event.
Artists to look at:
Erik Johanson
Jerry Uelsman
Maggie Taylor
Robert And Shauna Parke Harrison
Websites to look at:
This Is Colossal
My Modern Met
Behance
Keywords to use in your research:
Impossible photography
Photo Composite
Surreal Photography
Artists to look at:
Erik Johanson
Jerry Uelsman
Maggie Taylor
Robert And Shauna Parke Harrison
Websites to look at:
This Is Colossal
My Modern Met
Behance
Keywords to use in your research:
Impossible photography
Photo Composite
Surreal Photography
|
|
|
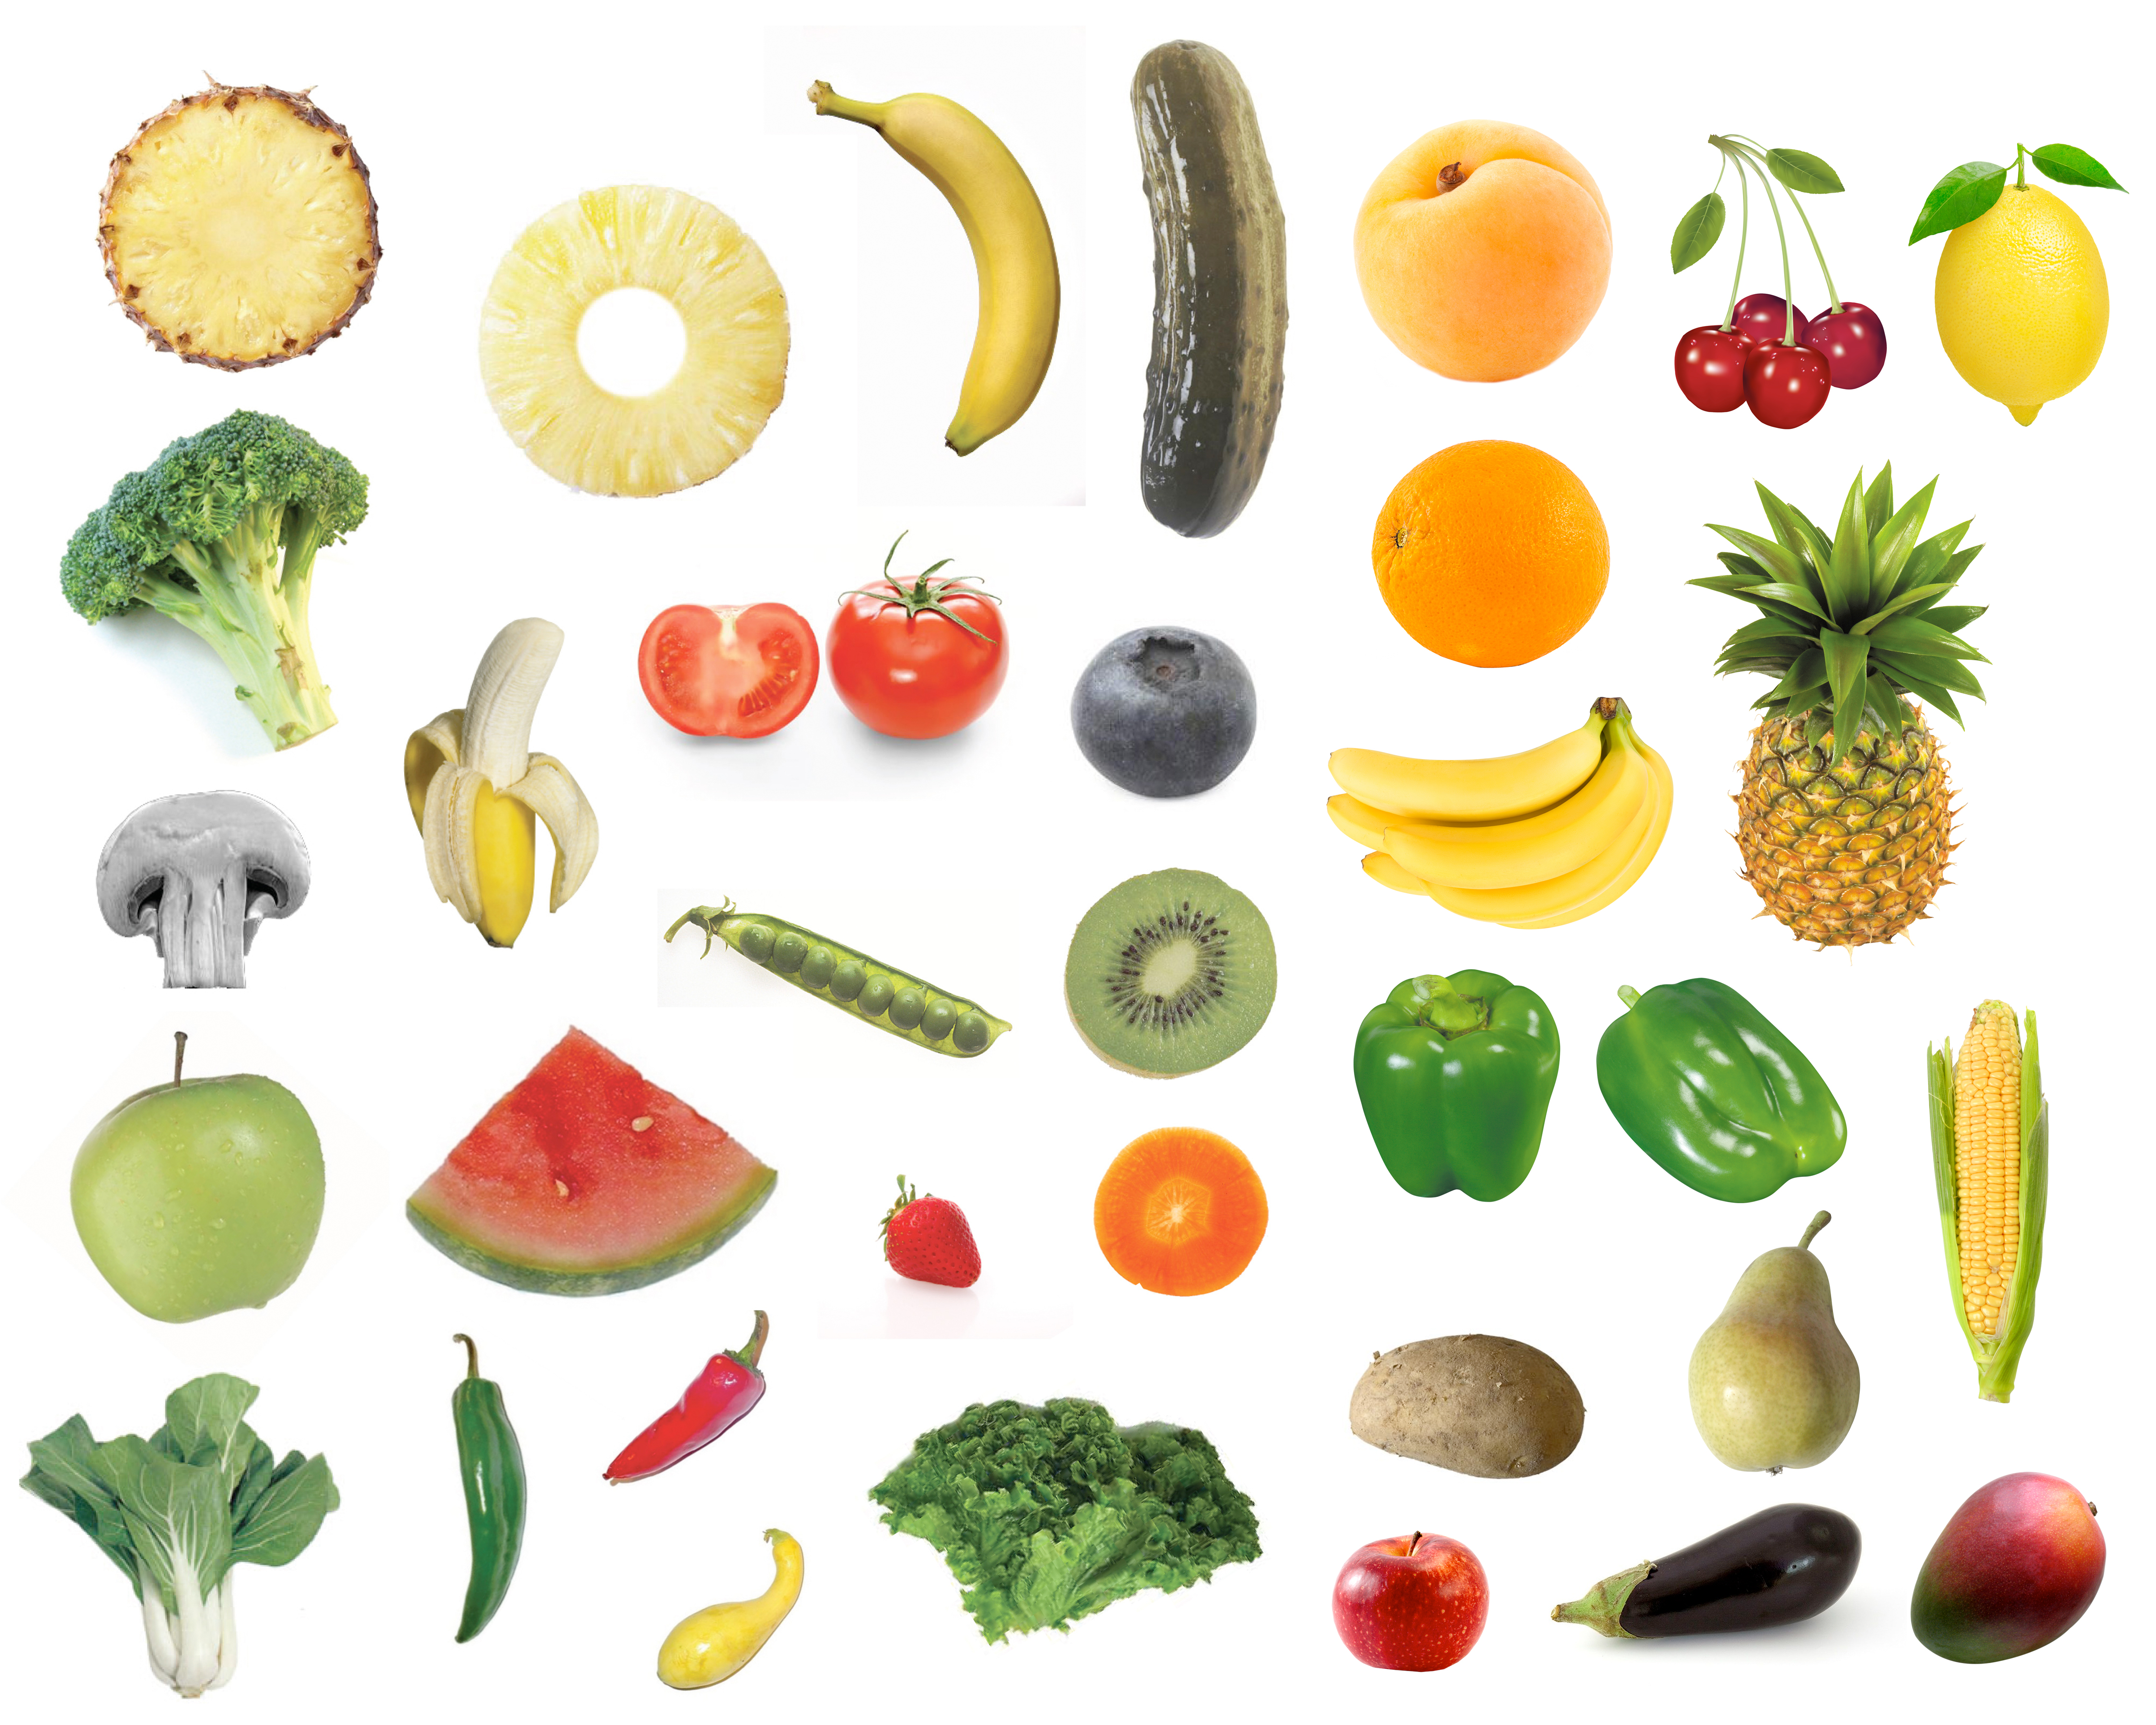
Veggie HEad - Photoshop
|
Look through both tutorials to get the general idea of all the selection tools you can use in Photoshop:
Veggie Face Tutorial Veggie Tutorial 2 Create ONE Veggie Head that has at least 8 different parts. Try as many selection tools as you can, but use the ones that make the most sense with the shape. Files to Get Veggies and Fruits for your head: Potato Head Veggie File 1 Veggie File 2 Veggie File 3 |
|
Winter Website Final
|
Home Page - welcome message and images, looks finished and professional
Projects Page (images, contact sheet, and refection) 30 in 30 Point of View Composition Photographic Toning Aperture Spooky Motion Double Exposure Bokeh (optional) Portfolio Your best 6 images from this semester Reflection Statement (TBA) Personal Photography Your images/work that you create on your own - this is where you can really showcase things you are passionate about! Inspiration Slide of your personal interest (beginning of year) Mood Boards/Slide Presentations for each Project |
Your website is a reflection of you - make it look professional and mimic your style.
Avoid any stock images in the templates (change them to your work) Stay away from the more "cutesy" and overused template formats |
double exposure
|
GOAL: to create mutli-layered images with strong composition that demonstrate transparency and connection between the layers
WHAT'S REQUIRED Mood Board of 5+ images Tutorial Results (not your final images) Final Images You Will Need: One double exposure done with your cell phone (use pixlr, snapseed, etc.) One to two images using photos you took One image you can use an image from Pexels or Unsharp for an interesting texture (s) Contact Sheet Reflection |
Double Exposure Tutorials
Double Exposure Portrait Tutorial Double Exposure Tutorial (Video) Double Exposure Tut - Intermediate (Video) In Camera Techniques How to Create Double Exposure with in camera How to create double exposure with an iPhone Advanced Tutorials Blending Layers Complex Double Exposure Trendy Double Exposure Effect |
Spooky/Peculiar Project
Goal is to work with the concept/idea of spooky or peculiar (be introduced to working through an idea rather than just taking photographs through observation.
What's required |
Tutorials to try |
|
Mood Board of 10+ images that relate to Spooky/Peculiar
Sketches of Possible Ideas (extra credit!) 3 Tutorial Results Contact Sheet of 24+ images you shot 3 edited images (negotiable if you do something complicated like levitation) Reflection
|
Beginner
Antique a Photo How to turn an image into Sepia-tone to make it look old-fashioned (video) How to give a photography-in-the- dark effect like infrared Ghosting an image Horror Movie Effect How to photograph a ghost Devil Eye Find a free online photo editor that has some interesting textures Advanced Tutorials Files for Advanced tutorials in Dropbox - I couldn't get all of them, so find an image that is similar if it's missing Halloween Landscape Forgotten Halloween Creating a ghostly image Levitation Ideas and Tutorials Some More Resources |
|
|
|
Aperture Project
|
1. Aperture study ( 5 images of same scene with different apertures) 2. Two photos you shot that demonstrates short depth of field 3. Two photos you shot that demonstrates long depth of field 4. Contact sheet of all the images you took for this project ( Botanic Garden, aperture study, and additional shoots). 5. A Powerpoint slide that describes depth of field and how you use the aperture to affect the amount of focus. You may use images and diagrams off the Internet, but you must use your own words in your text. PUT ALL YOUR APERTURE WORK ON YOUR WEBSITE & Google Classroom |
|
COLOR ASSIGNMENT
We have learned 4 techniques last week:
- Color Splash
- Converting to Black and White
- Toning (Sepia or Blue)
- Painting in Color
Choose 3 of those techniques to apply to your zoo photos/photos from this weekend
Edit your photos (don't forget to crop and adjust levels first!)
Save as jpegs with the following titles:
colorsplash_name.jpeg
blackandwhite_name.jpeg
toning_name.jpeg
painting_name.jpeg
Composition Project
|
Purpose: To learn the basic rules of composition and why these guidelines create effective images.
RESEARCH DOC ON COMPOSITIONAL RULES
•Collect examples of each compositional rule and place them in a Google slide presentation. Don’t forget to label each image. Save as compositionalimagesearch_name –Rules of Thirds –Asymmetrical Balance –Leading Lines –Symmetrical Balance –Pattern –Point of View (4 images) •worm’s eye • bird’s eye • close up • unusual –Depth (2 images) • Long Depth •Shallow Depth –Framing –Cropping REFLECTION
1. Have you ever heard about these compositional guidelines before? Where? When? 2. How does knowing about compositional guidelines help you become a stronger photographer? 3. Out of your shooting assignment, which image ended up being your favorite/best? Why? What compositional rule did you use? 4. Look at your contact sheet. Is there a compositional guideline that you tend to shoot a lot? Why do you think that guideline is easier for you to see? 5. Which guideline if the hardest for your to capture? Why do you think that? |
SHOOTING ASSIGNMENT
Shoot the following compositional guidelines: –Rules of Thirds –Asymmetrical Balance –Leading Lines –Symmetrical Balance –Pattern –Framing Try a variety of subjects around school to get the best (and most interesting) images. Make a contact sheet of all your attempts. Edit your BEST example of each of the 6 guidelines. Save as "thirds_name.jpg" "asymmbalance_name.jpg" "leading_name.jpg" "symmbalance_name.jpg" "pattern_name/jpg" "framing_name.jpg" |
Point of View Project
|
Purpose: to start learning concepts of composition and creating interest in your photos
Shoot 6+ images of each viewpoint: Bird's Eye Worm's Eye Close Up Unusual Edit your best example of each viewpoint. Save as birdseye_name, wormseye_name, closeup_name, unusual_name. Turn in: 4 images (bird's eye, worm's eye, close up, unusual) Contact Sheet Reflection |
Point of View Reflection Questions
1. What was the purpose of this project? 2. Did you find yourself gravitating toward a particular point of view? Why do you think that? 3. Out of the four images you edited, which one if your strongest? Why? 4. What feedback did you get? How did you refine your images based off that feedback? 5. What is one thing you did better on this assignment than the first assignment (30 in 30)? |
30 in 30 Project
|
Purpose: to gain insight on students' prior knowledge
Take 30 photos in 30 minutes to show what you know! Turn in: Contact Sheet Your best edited photo Reflection |
30 in 30 Reflection Questions
|